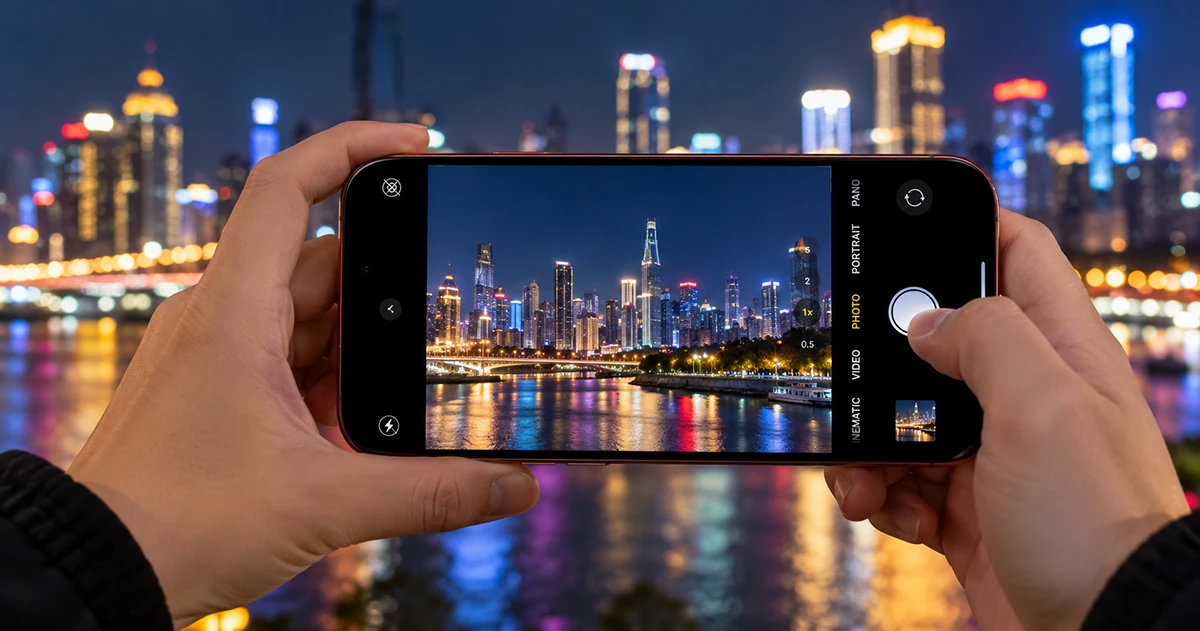
The iPhone 18 Pro Max makes night photography easier with its advanced camera system, Night Mode, and improved image processing. However, the right camera settings and shooting techniques can make a noticeable difference in low-light photos. To capture brighter, sharper images with less noise, adjust exposure, keep your iPhone steady, use Night Mode effectively, and choose the best lighting available. Here are practical tips to help you take better night photos on iPhone 18 Pro Max.
If your night photos look blurry, grainy, too dark, or washed out by bright lights, you can often improve them without installing another camera app. Follow these iPhone night photography tips to get better results in low-light conditions.
1. Use Night mode for Low-Light Photography
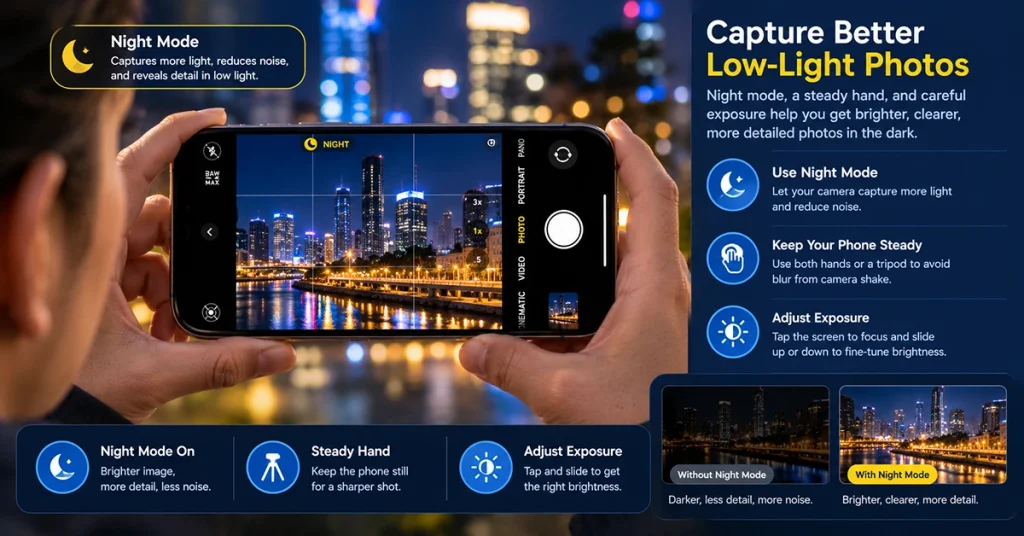
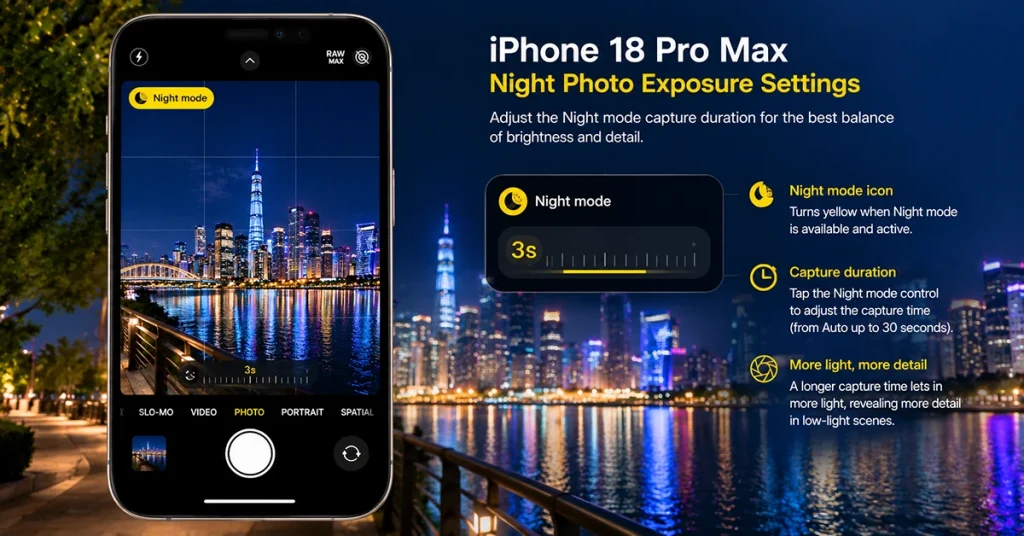
Night mode is one of the first features to try when photographing a dark scene. On supported iPhones, the Camera app activates it automatically when the camera detects insufficient light.
To take a Night mode photo:
- Open the Camera app.
- Select Photo mode and frame your subject.
- Check whether the Night mode icon appears and turns yellow.
- Tap the Night mode control if you want to adjust the capture duration.
- Tap the Shutter button and hold your iPhone steady until the capture finishes.
Night mode combines image processing with a longer capture to improve detail and brightness. However, it cannot completely freeze moving subjects. People walking, moving cars, and other objects may still appear blurred during a longer exposure.
Tip: For buildings, landscapes, and stationary subjects, try a longer Night mode exposure when the scene and your phone’s stability allow it.
2. Keep Your iPhone Steady
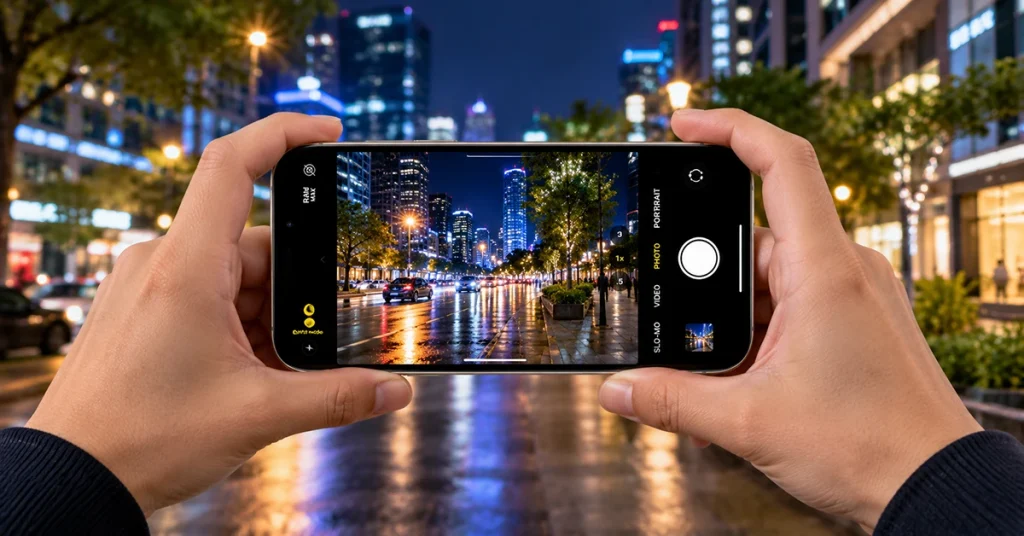
Camera movement is a major reason nighttime pictures look blurry. Low-light photography often requires the camera to capture light over a longer period, making small movements more noticeable.
Use these techniques to improve sharpness:
- Hold your iPhone with both hands and keep your elbows close to your body.
- Lean against a wall or another stable surface.
- Rest your phone on a secure, stationary surface when possible.
- Use a tripod for cityscapes, architecture, and nighttime landscapes.
- Avoid moving your phone immediately after pressing the shutter.
If your Camera app displays alignment guides during a Night mode capture, follow them to help reduce movement.
A tripod is particularly useful for capturing buildings, night skies, and illuminated landmarks. For moving people or traffic, prioritize a faster capture rather than simply extending the exposure.
3. Adjust Exposure to Control Bright Lights
Night photos often contain both very dark areas and bright light sources. Streetlights, shop signs, headlights, and illuminated buildings can appear overexposed even when the rest of the scene looks dark.
You can adjust the exposure before taking a picture:
- Open Camera and frame your subject.
- Tap the main subject on the screen to set focus.
- Use the exposure adjustment control, when available, to make the image darker or brighter.
- Take a test photo and review the highlights and shadows.
If neon signs or streetlights look completely white, reduce the exposure slightly. This can preserve more detail in bright areas and create a more natural nighttime atmosphere.
Avoid increasing brightness too much simply to make the entire scene visible. A nighttime photograph can look more realistic when some shadows remain dark.
4. Choose the Right Camera Lens
Different camera lenses can produce different results in low light. Start with the main camera for general night photography, especially when you want a good balance of brightness, detail, and sharpness.
| Night photography subject | Recommended approach | Why it helps |
|---|---|---|
| City streets | Main camera at a standard zoom | Balances detail and brightness |
| Buildings and skylines | Main camera with stable support | Helps preserve fine details |
| Wide landscapes | Try the Ultra Wide camera when available | Captures more of the scene |
| Distant signs or landmarks | Use optical zoom when available | Brings the subject closer without relying entirely on digital enlargement |
| Night portraits | Focus on the person’s face and use nearby light | Helps preserve facial detail |
| Moving traffic | Use a shorter capture where possible | Reduces motion blur |
Avoid excessive digital zoom at night. Enlarging a small, noisy image can make fine details look softer and more artificial.
The Ultra Wide and telephoto cameras may perform differently from the main camera in darkness. Compare the results rather than assuming that the widest or longest lens will always produce the best photograph.
5. Find Better Light Before Taking the Photo
You do not always need a brighter camera setting to get a better night photo. Sometimes, moving a few steps can improve the available light and the composition.
Look for shop windows, streetlights, illuminated buildings, decorative lighting, or reflections on wet pavement. These light sources can add depth and color without requiring a flash.
For night portraits, position your subject near a soft light source instead of placing a bright lamp directly behind them. If the face looks too dark, move the person toward the light or change your shooting angle.
For city photography, include reflections, leading lines, and contrasting colors. A scene with carefully arranged light sources often looks more interesting than a uniformly bright image.
6. Avoid Blurry Night Portraits
Portraits can be challenging because both the photographer and the subject may move during the capture.
For sharper results:
- Ask your subject to remain still until the photo finishes.
- Use available light to illuminate the face.
- Focus on the eyes or face.
- Avoid unnecessarily long Night mode exposures for moving people.
- Take several pictures and compare their sharpness.
Portrait mode can create an attractive background blur, but its availability and performance in low light depend on the iPhone model, camera, and shooting conditions. If the subject looks soft or the background separation looks unnatural, try standard Photo mode instead.
7. Reduce Grain and Noise in Dark Photos
Image noise appears as colored speckles, rough textures, or loss of detail in shadowy areas. It becomes more noticeable when a camera has very little light to work with or when you brighten an underexposed image afterward.
To reduce noise in your iPhone night photos:
- Move toward a brighter area when practical.
- Use the main camera instead of excessive digital zoom.
- Keep your iPhone steady so the camera can capture a sharper image.
- Avoid dramatically increasing shadows during editing.
- Compare the original photo with your edited version.
Open the image in Photos and make small adjustments to exposure, brilliance, highlights, and shadows as needed. Reduce harsh highlights without making the entire image unnaturally dark.
Editing cannot restore every detail lost in an extremely dark or blurred photograph. Getting the exposure right when shooting usually produces better results than trying to repair the image later.
8. Should You Use Flash for Night Photos?
Flash can help illuminate a nearby person or object, but it is not always the best choice for nighttime scenes.
A direct flash may create harsh facial shadows, bright reflections, and an unnatural appearance. It also does little to illuminate distant buildings or landscapes.
For atmospheric cityscapes, try capturing available light with Night mode. For a nearby subject in near-total darkness, test the flash and compare the result.
Keep in mind that enabling flash or Live Photos may disable Night mode on supported iPhone configurations. Check the Camera interface to confirm which features are active.
9. Fix Common iPhone Night Photography Problems
Use this quick-reference table when your pictures do not look right.
| Problem | Likely cause | What to try |
|---|---|---|
| Night photos look blurry | Camera or subject movement | Hold steady, use support, or shorten capture time |
| Pictures look too dark | Insufficient light or low exposure | Find nearby light or increase exposure slightly |
| Streetlights look washed out | Excessive exposure | Reduce exposure and protect highlights |
| Photos look grainy | Very low light or heavy editing | Find more light and avoid excessive shadow recovery |
| Distant subjects look soft | Digital zoom or weak light | Use a suitable optical lens or move closer |
| Portraits look blurred | Subject movement during capture | Ask the person to stay still and use nearby light |
10. Try Advanced Night Photography Techniques
Once you are comfortable with the basics, experiment with creative nighttime compositions.
Capture light trails: Photograph traffic from a safe, stationary position. Longer exposures can turn moving headlights into streaks, although the exact result depends on the camera controls and capture mode available.
Photograph reflections: Look for water, wet streets, or glass that reflects colorful lights. Reflections can make ordinary urban scenes more dynamic.
Use a tripod for landscapes: A stable camera helps capture detailed stationary scenes with longer Night mode exposures.
Experiment with editing: Slightly adjust highlights, shadows, contrast, and color to emphasize the atmosphere without removing the natural darkness of the scene.
For the best results, change one setting at a time and compare your images. This helps you learn which adjustments work for different lighting conditions.
Frequently Asked Questions
Why are my iPhone 18 Pro Max night photos blurry?
amera movement, moving subjects, insufficient light, and long capture times can all cause blur. Hold the phone steady, use a tripod for stationary scenes, or choose a shorter capture for moving subjects.
How do I make night photos brighter without losing detail?
Find additional light when possible and adjust exposure gradually. If streetlights or signs become completely white, lower the exposure to preserve their detail.
Should I always use Night mode?
No. Night mode is useful for dark scenes and stationary subjects, but a shorter capture may produce a sharper result when photographing movement. Compare both approaches when lighting permits.
Can I take good night photos without a tripod?
Yes. Use both hands, brace your arms against a stable surface, and keep the phone still until the capture finishes. A tripod is helpful but not essential for every shot.
Final Thoughts
To take better night photos on iPhone 18 Pro Max, start with Night mode, stabilize your phone, and adjust exposure to protect bright lights. Choose the appropriate camera lens, use available lighting creatively, and avoid excessive digital zoom.
Practice these techniques with cityscapes, portraits, and nighttime landscapes. A few small changes to how you frame and capture a scene can make a noticeable difference in your nighttime photography.
3 thoughts on “The Ultimate Guide to Nighttime Photography with Your iPhone 18 Pro Max”