Setting up Apple Pay on the iPhone 18 Pro Max lets you make contactless payments in stores and pay securely in supported apps and websites without reaching for your physical bank card. To get started, open the Wallet app, tap the Add Card (+) button, select Debit or Credit Card, and follow the on-screen instructions to add and verify your card.
Before setting up Apple Pay, make sure your country or region supports the service and your bank participates. You also need an Apple Account, a compatible payment card, and Face ID or a passcode configured on your iPhone.
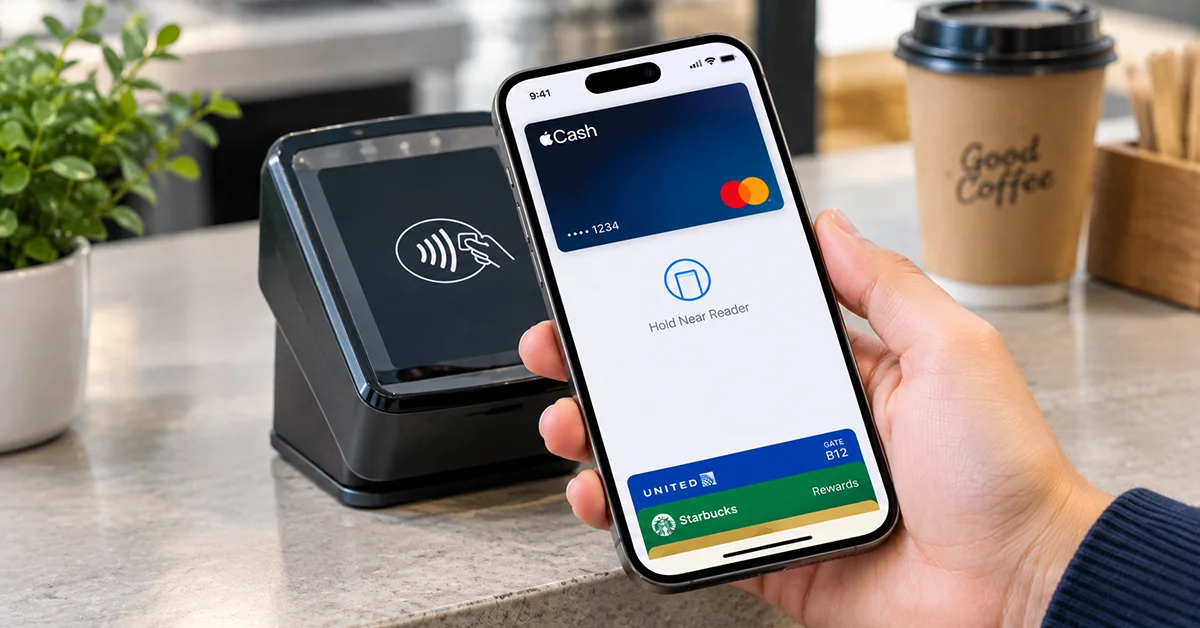
This guide explains how to set up Apple Pay on iPhone 18 Pro Max, verify your bank card, make your first payment, and troubleshoot common setup problems.
What You Need Before Setting Up Apple Pay
Check the following requirements before adding a payment card to your iPhone.
| Requirement | What to check |
|---|---|
| Compatible iPhone | Your iPhone 18 Pro Max supports Apple Pay hardware requirements |
| iOS software | Install the latest available iOS update |
| Apple Account | Sign in to your Apple Account |
| Security | Set up Face ID and a passcode |
| Payment card | Use an eligible debit or credit card |
| Bank support | Confirm that your card issuer supports Apple Pay |
| Regional availability | Check whether Apple Pay is available in your country or region |
Apple Pay is not available everywhere, and not every card works with the service. Visit Apple’s official list of supported countries and regions and check with your bank if you’re unsure about eligibility.
How to Set Up Apple Pay on iPhone 18 Pro Max
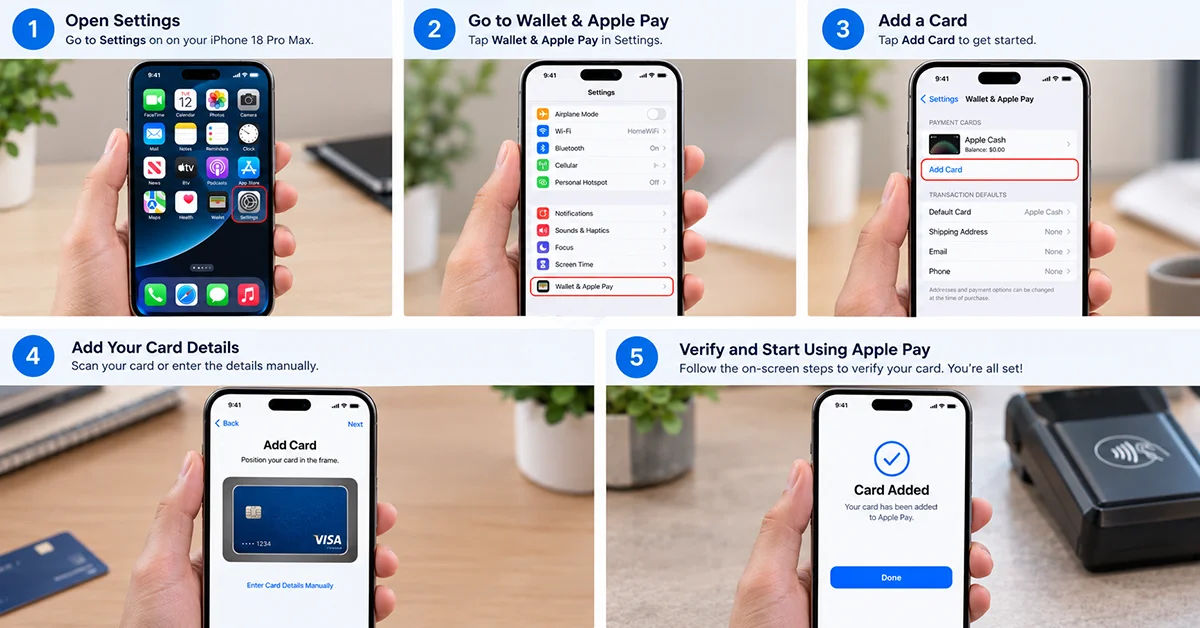
The quickest way to configure Apple Pay is through the built-in Wallet app. Keep your payment card and any required bank verification details nearby.
Step 1: Open the Wallet App
Unlock your iPhone 18 Pro Max and open the Wallet app from your Home Screen or App Library.
Look for the plus (+) button to add a new payment card. Depending on your account and previous setup, Wallet may also display cards you’ve used before or cards available from supported apps.
If prompted, sign in to your Apple Account before continuing.
Step 2: Tap Add Card
Tap the Add Card (+) button and select Debit or Credit Card. Then tap Continue.
If Wallet offers previously used cards, you can select an eligible card instead of entering its information again. Otherwise, proceed with adding a new card.
Follow the prompts to begin registering your payment method.
Step 3: Scan Your Card or Enter the Details Manually
You can add an eligible card using one of the following methods:
- Scan the card: Position your card in the camera frame if that option is available.
- Enter the details manually: Select the manual-entry option and provide the requested card information.
- Use your bank’s app: If supported, open your bank’s mobile app and look for an option such as Add to Apple Wallet or Add to Apple Pay.
Depending on the card and issuer, you may also be able to hold your iPhone near an eligible payment card to transfer its details.
Check the card number, expiration date, and other requested information carefully before proceeding.
Step 4: Verify Your Card With Your Bank
After entering your card information, follow the verification instructions displayed in Wallet.
Your bank or card issuer may ask you to confirm your identity through a text message, a phone call, a banking app, or another authentication method.
Complete the requested verification and wait for approval. Some cards are activated quickly, while others require additional review.
Once your issuer approves the card, it should appear in Wallet and be ready for Apple Pay transactions.
If the card remains pending or verification fails, contact your bank. Apple cannot independently approve a card that the issuer has not authorized.
Step 5: Set Your Default Payment Card
If you add multiple payment cards, choose which one you want to use by default.
Open Settings, select Wallet & Apple Pay, and look for the default-card settings. Depending on your iOS version, the exact menu labels may vary.
You can also select a different card when paying, so your default choice does not prevent you from using another eligible card.
How to Use Apple Pay on iPhone 18 Pro Max
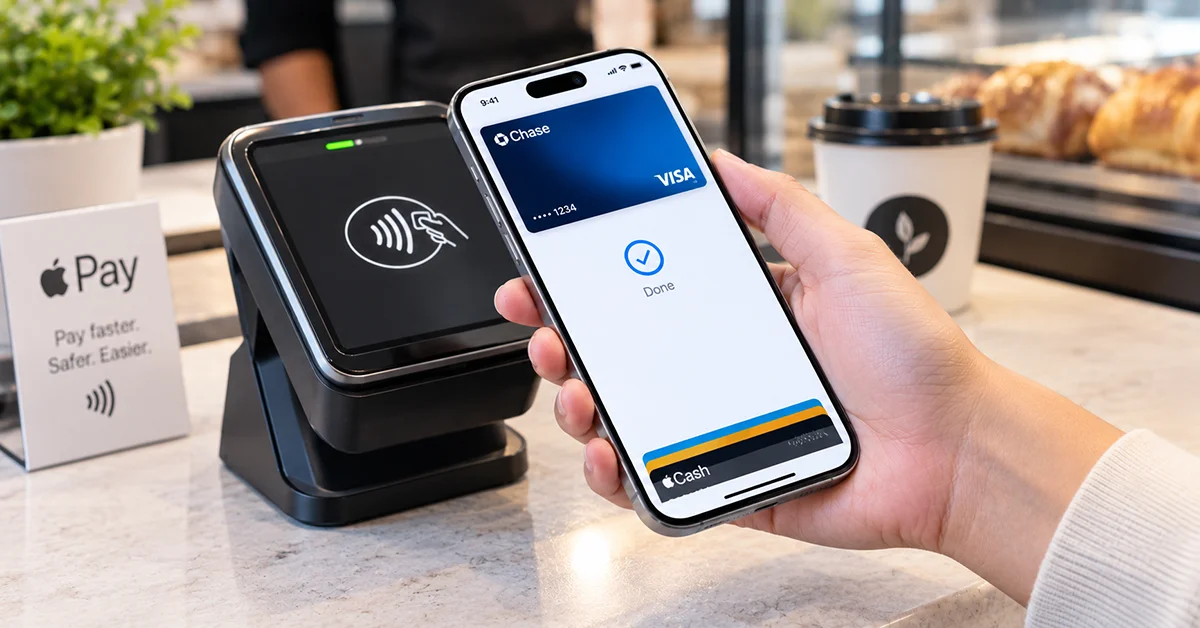
After your card has been verified, you can use Apple Pay at participating contactless terminals and supported online checkouts.
Pay in Stores With Face ID
Follow these steps to make a contactless payment:
- Double-click the Side button to open your default payment card.
- Authenticate with Face ID or your passcode when prompted.
- Hold the top of your iPhone near the contactless payment terminal.
- Wait for the confirmation on your screen and the terminal before moving your phone away.
If you want to use a different card, select it before completing the payment.
Look for the contactless payment symbol or Apple Pay acceptance information at the checkout. The merchant and payment terminal must support the transaction.
Pay in Apps and on Websites
Apple Pay can also simplify purchases in supported apps and online stores.
- Select Apple Pay at checkout.
- Review the payment amount, billing details, and shipping information.
- Choose your preferred payment card if necessary.
- Double-click the Side button and authenticate with Face ID or your passcode when prompted.
- Wait for the payment confirmation.
You can use Apple Pay only where the merchant, payment method, and region support it.
How to Fix Apple Pay Not Working on iPhone 18 Pro Max
If you cannot add a card or complete a payment, try these troubleshooting steps.
| Problem | Possible solution |
|---|---|
| Add Card button is missing or setup is unavailable | Check regional availability, sign-in status, and device security settings |
| Card cannot be added | Confirm that your bank and specific card support Apple Pay |
| Verification fails | Check your banking app and messages, then contact the issuer |
| Card shows as pending | Complete any outstanding verification and wait for bank approval |
| Contactless payment fails | Authenticate again and hold the top of your iPhone near the reader |
| Payment is declined | Check your available funds or credit and contact your bank |
| Wallet behaves unexpectedly | Restart your iPhone and install available software updates |
If you still cannot add a card, consult Apple’s official Apple Pay setup guide. Avoid repeatedly entering incorrect payment details or sharing your card security code with anyone claiming to provide unofficial support.
Is Apple Pay Safe to Use on iPhone 18 Pro Max?
Apple Pay is designed to protect payment information during transactions. When you pay with Apple Pay, your actual card number is not shared with the merchant. Instead, the service uses a device-specific account number and a unique security code for transactions.
Face ID or your passcode helps prevent unauthorized people from using your payment cards. You should still protect your passcode, keep iOS updated, and contact your bank immediately if you suspect unauthorized activity.
For additional information, read Apple’s guide to setting up Apple Pay.
Frequently Asked Questions
Final Thoughts
Setting up Apple Pay on iPhone 18 Pro Max is straightforward when your bank card and region are supported. Open Wallet, tap Add Card, enter or scan your payment details, and complete your bank’s verification process. Once your card is approved, you can authenticate with Face ID and pay at supported contactless terminals, apps, and websites.
If setup fails, check card eligibility and regional availability before troubleshooting your iPhone. These two factors are often the key to getting Apple Pay working successfully.
