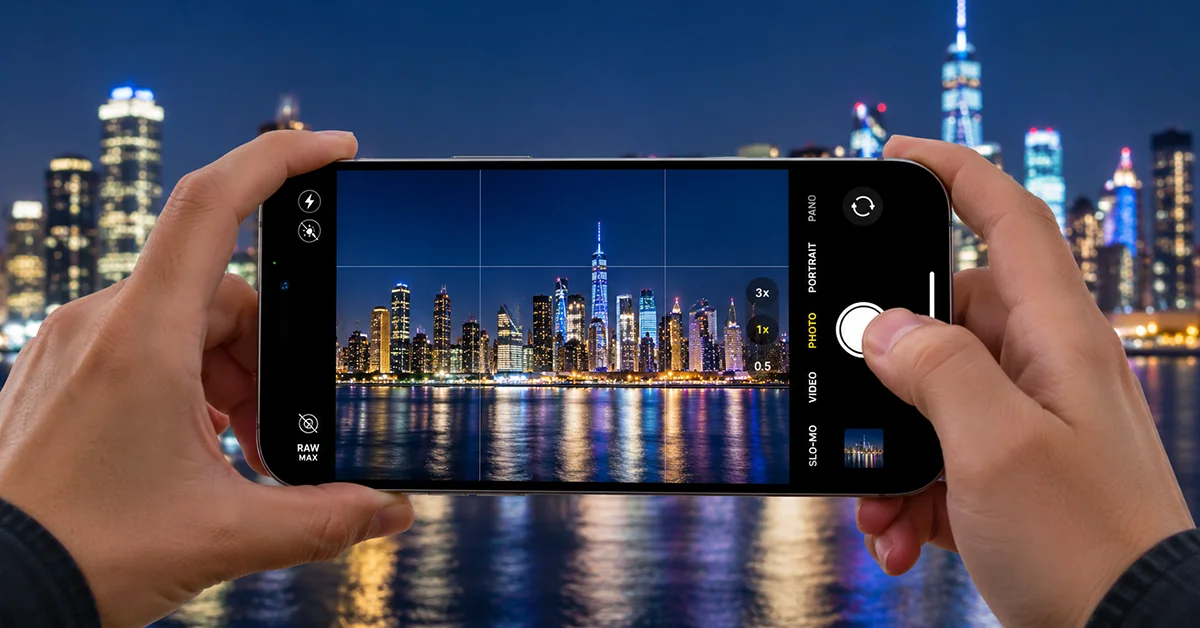
Clearer night photos on iPhone 18 Pro Max start with using Night mode, keeping the camera steady, and choosing the right exposure. The phone’s variable-aperture main camera also gives you more control over how much light enters the lens. With a few adjustments, you can capture sharper cityscapes, brighter landscapes, and more detailed nighttime portraits without making every photo look artificially bright.
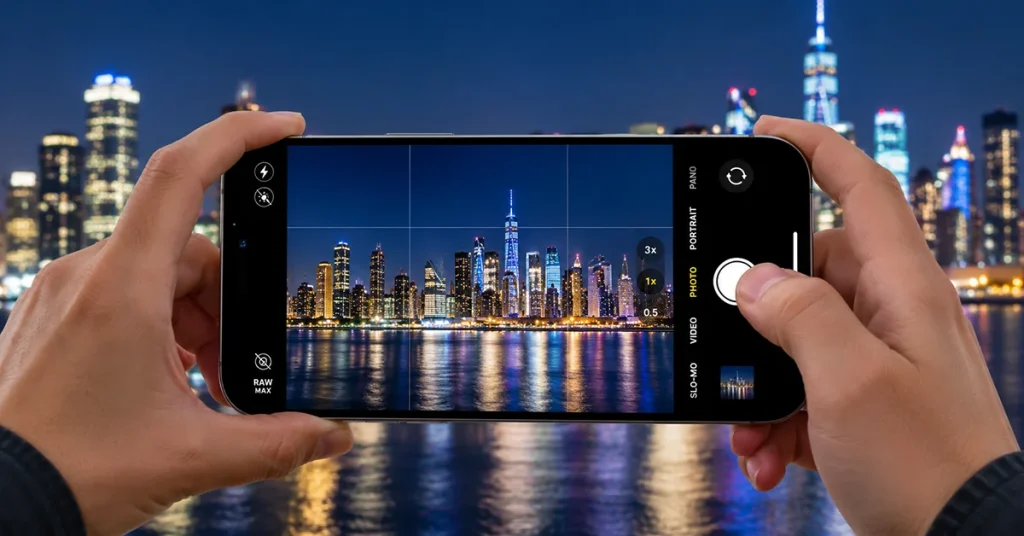
Quick Tips for Clearer Night Photos
For the best results, open the Camera app, use the main 1× camera, and let automatic Night mode handle the exposure initially. Keep the phone still until the capture finishes, tap your subject to focus, and slightly reduce exposure when streetlights or illuminated signs appear too bright.
Here are the settings and techniques to try first:
- Night mode: Leave it on Auto for most low-light scenes.
- Main camera: Start with the 1× lens for everyday night photography.
- Aperture: Try the widest available setting, f/1.48, when you need more light.
- Exposure: Lower it slightly to preserve details in bright lights.
- Stability: Use both hands, a solid surface, or a tripod.
- Focus: Tap your main subject before taking the picture.
The iPhone 18 Pro Max supports Night mode and advanced manual camera controls. Its variable-aperture main camera can help gather more light, but the right settings still depend on whether you’re photographing a stationary building, a moving person, or a dark landscape.
1. Use Night Mode for Better Low-Light Photos
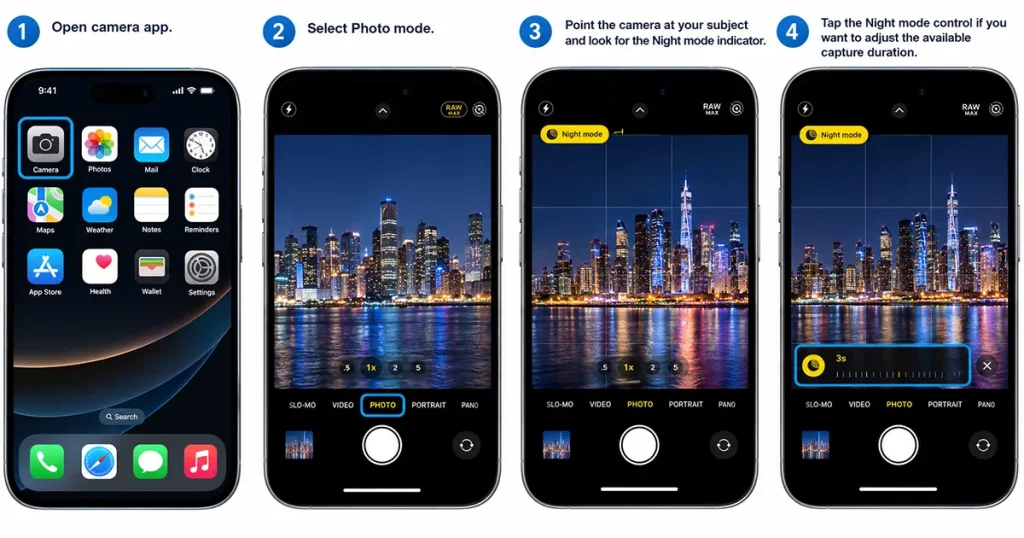
Night mode helps the iPhone capture more detail in dark environments by adjusting the exposure and combining image information computationally. It activates automatically when the camera detects suitable low-light conditions.
To take a Night mode photo:
- Open the Camera app.
- Select Photo mode.
- Point the camera at your subject and look for the Night mode indicator.
- Tap the Night mode control if you want to adjust the available capture duration.
- Press the Shutter button and hold the phone still until the capture finishes.
For stationary subjects, a longer exposure can reveal more detail in dark areas. However, moving people, vehicles, and animals may appear blurred if they move during capture.
Tip: Use automatic Night mode first. Experiment with longer exposures only when the scene is relatively still and you can stabilize your phone.
Official Refference: Apple Support – Use Night mode on your iPhone.
2. Choose the Right Aperture Setting
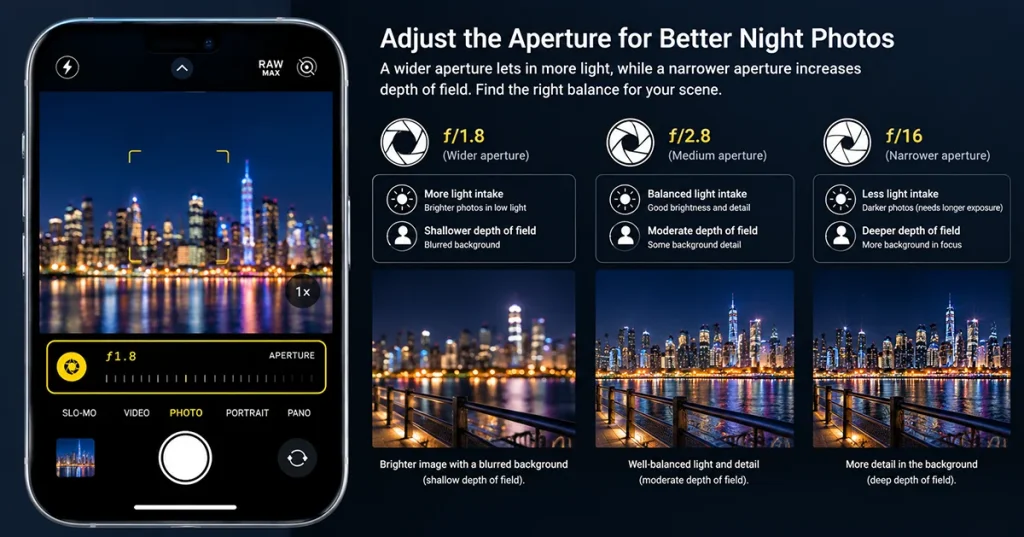
One of the most useful camera features on the iPhone 18 Pro Max is its variable-aperture main camera. A wider aperture allows more light to reach the sensor, which can help produce cleaner images or allow faster shutter speeds in low light.
| Aperture setting | Best use | Expected result |
|---|---|---|
| f/1.48 | Dark streets, night landscapes, dimly lit scenes | More light enters the camera |
| f/1.8 | General nighttime photography | A balanced starting point |
| f/2.8 | Scenes where you want more depth of field | Less light, with a different depth-of-field effect |
| f/4 | Close subjects or scenes where greater depth of field matters | Less light and more depth of field |
To adjust the aperture, open Camera Controls, select Lens Aperture, and choose the available setting. You can also leave it on Auto so the camera manages the adjustment.
For most dark scenes, start with f/1.48. If you are photographing a group, a nearby object, or a scene where more of the image should appear in focus, experiment with narrower apertures.
Remember that aperture alone cannot freeze movement. If a person is walking through the frame, a faster shutter speed may be more important than maximizing the amount of light.
3. Keep the Camera Steady to Prevent Blur
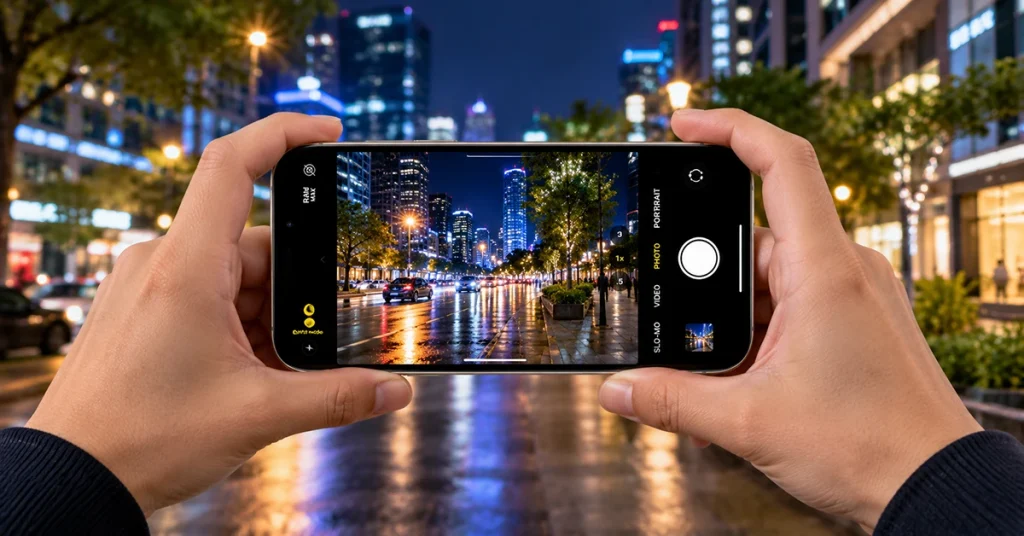
Camera shake is one of the most common reasons nighttime photos look soft. When the camera needs more time to capture a dark scene, even small movements can reduce sharpness.
Follow these techniques:
- Hold your iPhone with both hands.
- Keep your elbows close to your body.
- Lean against a wall or place the phone on a stable surface when possible.
- Use a tripod for long exposures and nighttime landscapes.
- Set a timer or use a remote shutter to minimize movement when taking tripod-mounted shots.
If your iPhone displays movement guidance during Night mode capture, follow the on-screen indicators to help stabilize the composition.
A tripod is particularly useful for photographing buildings, skylines, bridges, and other stationary subjects. For moving people, prioritize a faster capture and good available lighting instead of simply extending the exposure.
4. Adjust Exposure to Preserve Details in Bright Lights
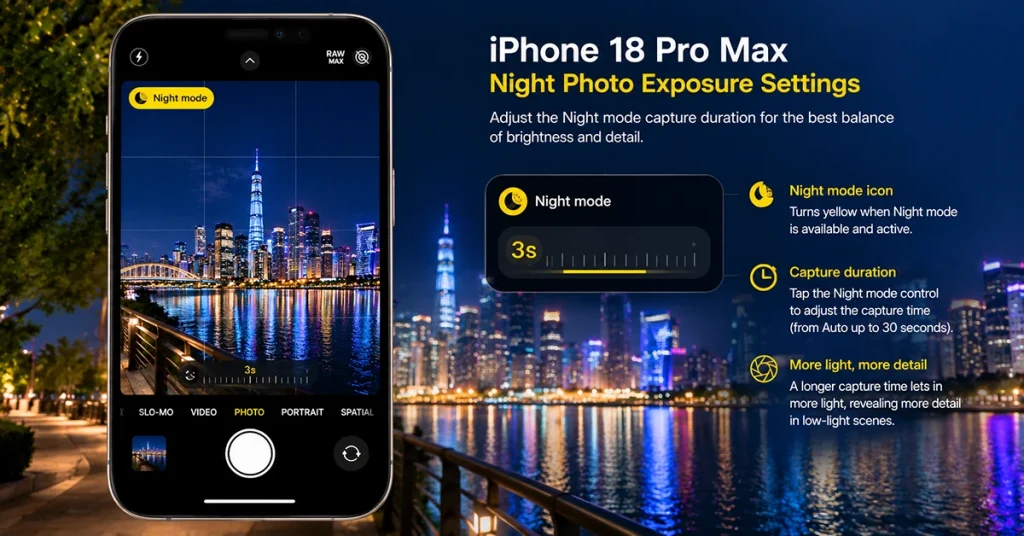
Night scenes often contain both dark shadows and extremely bright light sources. Streetlights, vehicle headlights, and illuminated signs can lose detail when the exposure is too high.
To adjust exposure:
- Open the Camera app.
- Frame your subject.
- Tap the subject to set focus.
- Open the available exposure controls.
- Reduce exposure slightly if bright areas appear washed out.
- Take a test photo and review the highlights and shadows.
Avoid making the entire image too dark just to preserve every highlight. The goal is to retain important details while keeping the scene natural.
The iPhone 18 Pro Max also offers advanced camera controls, including shutter speed, white balance, and a histogram. Beginners can leave these controls on automatic settings, while experienced photographers can use them for more deliberate results.
5. Choose the Best Camera Lens for Night Photography
The main 1× camera is a reliable starting point for clearer night photos. It is generally preferable to aggressive digital zoom, which enlarges existing image information rather than capturing additional optical detail.
Consider these options:
- 1× main camera: Use it for street scenes, buildings, landscapes, and general nighttime shots.
- 2× crop or zoom option: Try it for tighter framing when there is enough light, and compare the result with the 1× image.
- Telephoto camera: Use it when you need a distant subject framed more tightly, but check sharpness carefully in very dark conditions.
- Ultra-wide camera: Choose it for expansive cityscapes or architecture, especially when the scene has sufficient lighting.
Avoid digital zoom when possible. If the subject is stationary and it is safe to do so, moving closer can produce a more detailed result.
6. Take Sharper Nighttime Portraits
Night portraits require a balance between facial detail, background lighting, and subject movement. Even if the phone remains perfectly still, a person moving during a long exposure can appear blurry.
For better results:
- Position your subject near a shop window, streetlamp, or other soft light source.
- Ask the person to remain still during capture.
- Tap the face to focus.
- Use Night mode when appropriate for the scene.
- Try Portrait mode when you want background separation, provided the available lighting and mode support produce a clean result.
Avoid placing a strong light directly behind your subject unless you want a silhouette. If the face appears too dark, move the subject toward available light instead of increasing exposure excessively.
For children, pets, or people who cannot remain still, use a brighter location and take several photos to improve your chances of getting a sharp image.
7. Edit Night Photos Without Losing Natural Detail
A small amount of editing can improve a nighttime image, but excessive adjustments can introduce noise and make lighting look unnatural.
Open the photo in the Photos app and try these adjustments:
- Exposure: Increase it slightly if the subject is too dark.
- Highlights: Reduce them to recover detail in bright signs and lamps.
- Shadows: Lift them moderately to reveal darker areas.
- Noise reduction: Apply it carefully if the image looks grainy.
- Sharpness: Add a small amount when details need definition.
- Warmth: Adjust white balance or warmth to correct unwanted color casts.
Avoid pushing shadows too far because dark areas may reveal visible noise. Similarly, excessive sharpening can create halos around buildings and light sources.
Compare the edited image with the original before saving your changes.
8. Fix Common iPhone Night Photography Problems
| Problem | Possible cause | What to try |
|---|---|---|
| Blurry photos | Camera shake or moving subjects | Stabilize the phone or use a faster capture |
| Grainy shadows | Limited light or aggressive editing | Use the main camera and reduce shadow lifting |
| Overexposed streetlights | Exposure is too high | Lower exposure slightly |
| Soft zoomed-in images | Digital zoom or weak telephoto performance in darkness | Return to 1× or move closer |
| Dark portraits | Insufficient light on the face | Move the subject toward a light source |
| Unnatural colors | Mixed lighting or excessive editing | Adjust white balance and warmth gently |
If your photos suddenly become worse, clean the camera lenses, check for obstructions from your case or lens protector, and install available software updates. Test the camera in several lighting conditions before assuming there is a hardware problem.
Final Thoughts
Clearer night photos on iPhone 18 Pro Max come from combining the right camera settings with stable shooting technique. Start with Night mode on Auto, use the main 1× camera, try the widest aperture in dark environments, and keep the phone steady until the exposure finishes.
For the best results, adjust exposure to protect bright lights, give moving subjects enough light, and edit shadows conservatively. Once these basics become familiar, experiment with manual aperture and shutter-speed controls to create more intentional nighttime photographs.